Getting Started
Automatic speech recognition using Whisper allows for transcription of several different languages as well as translation into English.
For non-Intel devices whisper.cpp is used. The tiny english only model for whisper.cpp is included by default in the folder /Content/Whisper/. Additional models can be downloaded from here.
For AMD NPU devices additional models can be downloaded or converted using the instructions located here.
For Intel devices The tiny Whisper model is included in the folder /Content/Whisper/ by default. Additional models for OpenVino can be downloaded from here.
To use other models, move the model files into a folder within the FloraEngine plugin and select the file from the settings.
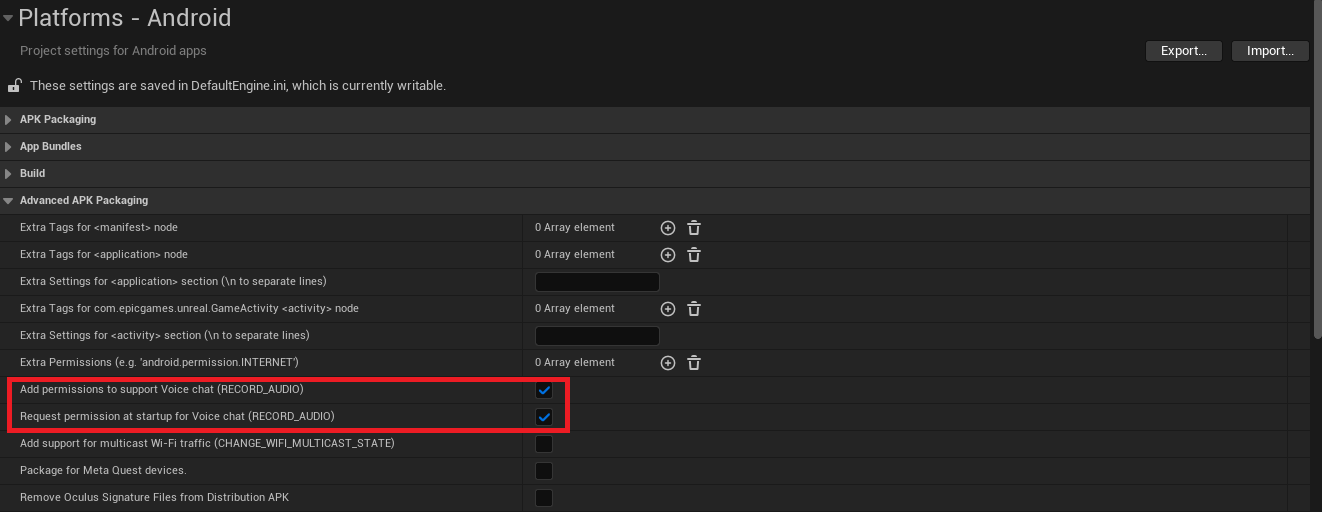
In order to use Whisper on Android devices, the RECORD_AUDIO permission must be enabled. This can be added from the project setting page shown in the image below.
Note: Whisper features are currently limited on Android. Only transcription and translation are available.
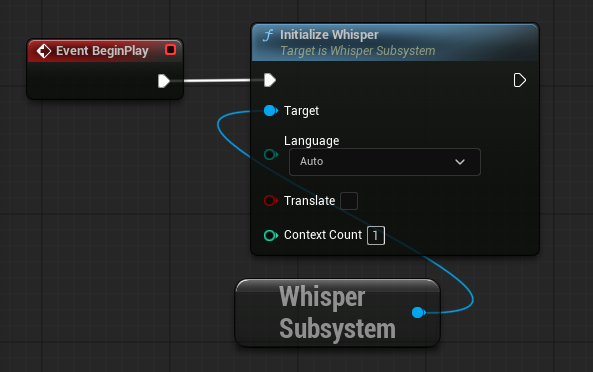
Whisper is implemented as a subsystem which must be initialized before it can be used. From any blueprint get the Whisper Subsystem and from there use the Initialize Whisper node. From this node you can set the language that Whisper attempts to transcribe/translate from, this can be beneficial to avoid unexpected language outputs and improve efficiency (the default Auto will try to detect the language spoken"). The Translate option will take the selected language and translate it into English. The Context Count will initialize separate instances of Whisper to allow for additional parallel processing (recommended to start at 1 and only initialize more if required).
Next Steps
- Audio Files - Transcription from saved .wav files
- Realtime Audio Capture - Open an audio stream to perform realtime audio transcription
- Voice Encoder - Perform voice encoding before transcription to categorize speaker
- C++ Example - Quick start for using Whisper in C++